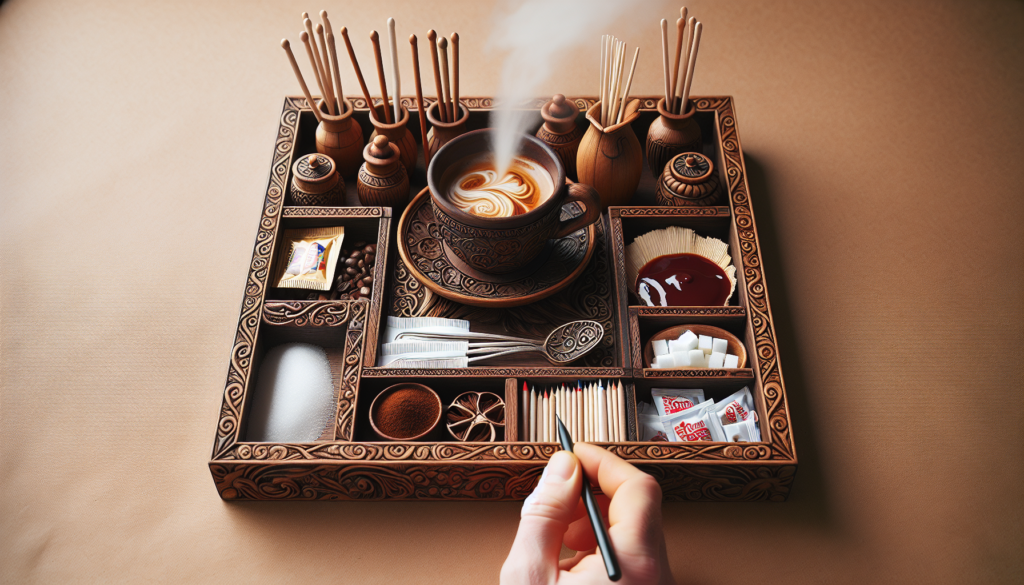
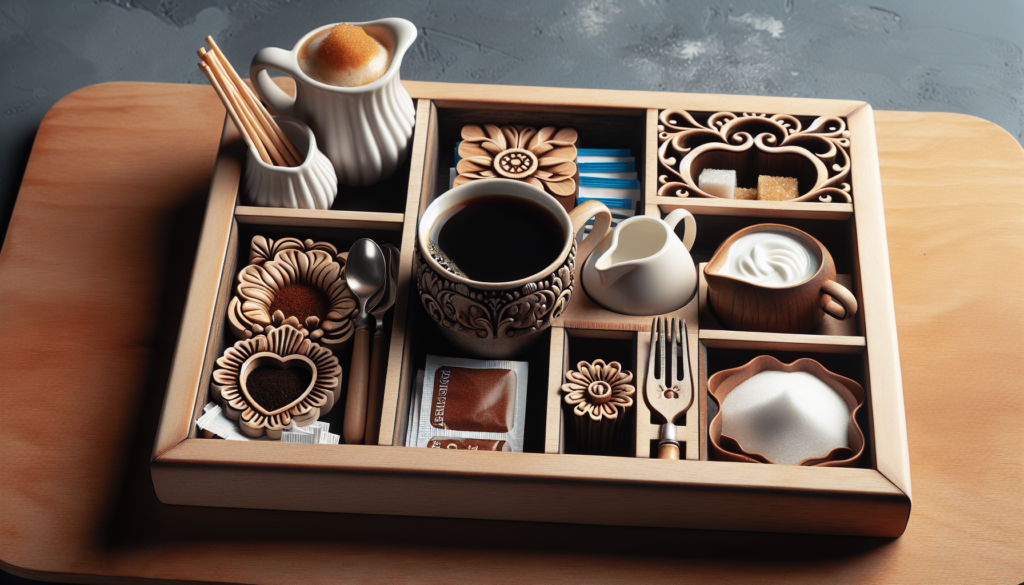
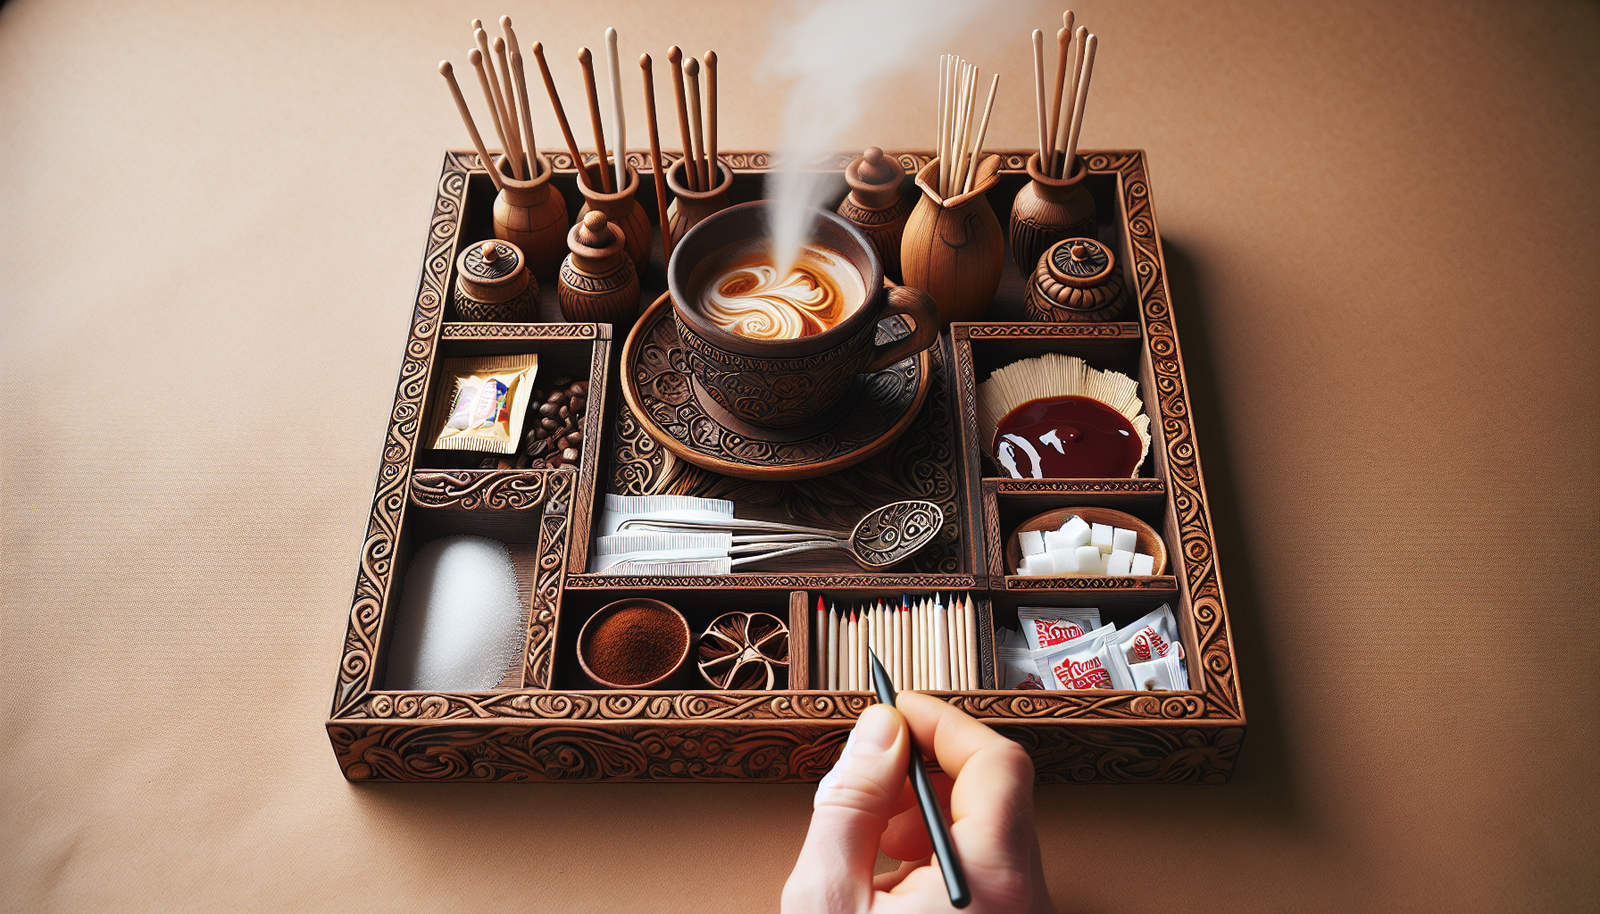
Get ready to impress your friends and elevate your coffee station to new heights with the Creative DIY Coffee Condiment Organizer. This innovative and stylish organizer is perfect for keeping all your favorite coffee condiments neatly organized and easily accessible. With a focus on creativity, this DIY project allows you to customize your organizer to fit your unique style and preferences. Say goodbye to cluttered countertops and hello to a coffee station that is both functional and visually stunning. Whether you’re a coffee connoisseur or just love a good cup of joe, this coffee condiment organizer is a must-have addition to your kitchen.
Materials Needed
To create your own DIY coffee condiment organizer, you will need the following materials:
Wooden crate
The foundation of your organizer will be a wooden crate. You can find these at craft stores or repurpose an old crate.
Sandpaper
Make sure to have some sandpaper on hand to smooth down any rough edges and prepare the surface for painting or staining.
Paint or stain
Choose a paint color or wood stain that matches your personal style and the aesthetic of your kitchen or coffee station.
Paintbrushes
You’ll need a variety of paintbrushes to apply the paint or stain to the crate and any additional touch-ups.
Wood glue
Wood glue is essential for securing the divider and any other compartments you choose to add to your organizer.
Clamps
Clamps will hold the divider in place while the wood glue dries, ensuring a secure attachment.
Drill
A drill will be needed to attach the back and side panels to the crate.
Screws
Choose screws that are appropriately sized for the thickness of your wood panels and crate.
Measuring tape
Accurate measurements are crucial for creating the perfect fit for your organizer, so having a measuring tape on hand is essential.

Step-by-Step Instructions
Preparation
Before you begin, take the time to gather all your materials and clear a workspace. This will ensure that you have everything you need and a clutter-free area to work in.
Sanding the Crate
Start by examining the crate for any rough or splintered edges. Use sandpaper to smooth down these areas, focusing on about an inch around the edges of the crate to create a clean, polished look.
Once you’ve addressed the edges, move on to sanding the entire surface of the crate. This will create a smooth canvas for painting or staining. As you sand, be sure to remove any dust or debris that may accumulate.
Painting or Staining
Now comes the fun part – adding color or stain to your coffee condiment organizer. Select a paint color or wood stain that matches your style and complements your kitchen decor.
Using a paintbrush, carefully and evenly apply the paint or stain to the entire surface of the crate, including the inside. Make sure to follow the manufacturer’s instructions and allow sufficient drying time between coats if necessary.
Gluing the Divider
To create compartments within your organizer, you’ll need a divider. Using a measuring tape, determine the desired size of the compartment and cut the divider accordingly.
Apply wood glue to one end of the divider and press it firmly into place within the crate. Ensure that it is centered and aligned with the edges. Hold it in place for a few seconds to allow the glue to begin bonding.
Securing the Divider
To ensure the divider stays securely in place, use clamps to hold it down while the wood glue dries. Position the clamps at regular intervals along the length of the divider, adding additional pressure to ensure a tight bond.
Allow the wood glue to dry completely before moving on to the next step. Refer to the glue manufacturer’s instructions for the recommended drying time.
Attaching the Back Panel
Measure and cut a back panel that matches the dimensions of the back of the crate. Position the panel flush against the back of the crate, making sure it is centered and level.
Using a drill, secure the back panel to the crate using screws. Take care to choose screws that won’t extend through the front or sides of the crate. For added stability, use screws at regular intervals along the back panel.
Attaching the Side Panels
Measure and cut two side panels that match the height of the crate. Position them flush against the sides of the crate, ensuring they are level and aligned with the front and back edges.
Using a drill, secure the side panels to the crate with screws. Again, choose screws that won’t extend through the front or back panels. Add screws at regular intervals along the side panels for added stability.
Adding Compartments
If you desire additional compartments within your coffee condiment organizer, repeat the steps for gluing and securing dividers as necessary. Measure, cut, and position dividers within the crate, taking into account the desired size and placement of each compartment.
Final Touches
After all the main components of your coffee condiment organizer are in place, take a final look for any rough spots or imperfections. Sand these areas smooth to create a polished finish.
If desired, apply an additional coat of paint or stain to touch up any areas that may have been overlooked or to enhance the overall appearance of the organizer.
To protect the wood and give it a long-lasting finish, consider sealing the surface with varnish or polyurethane. This will provide added durability and resistance to spills or moisture.
Once you’ve completed these final touches, step back and admire your handiwork. You now have a beautiful and functional DIY coffee condiment organizer to enjoy in your kitchen or coffee station.

