Have you ever wondered how a simple water-filled pebble tray can make your home plants happier and healthier?
Caring for a water filled pebble tray
You’re about to learn practical, friendly guidance for setting up and maintaining a water-filled pebble tray. This method of increasing localized humidity is inexpensive and low-tech, and when you care for it properly it can give your plants a steady boost without misting or complex humidifiers.
What is a water-filled pebble tray?
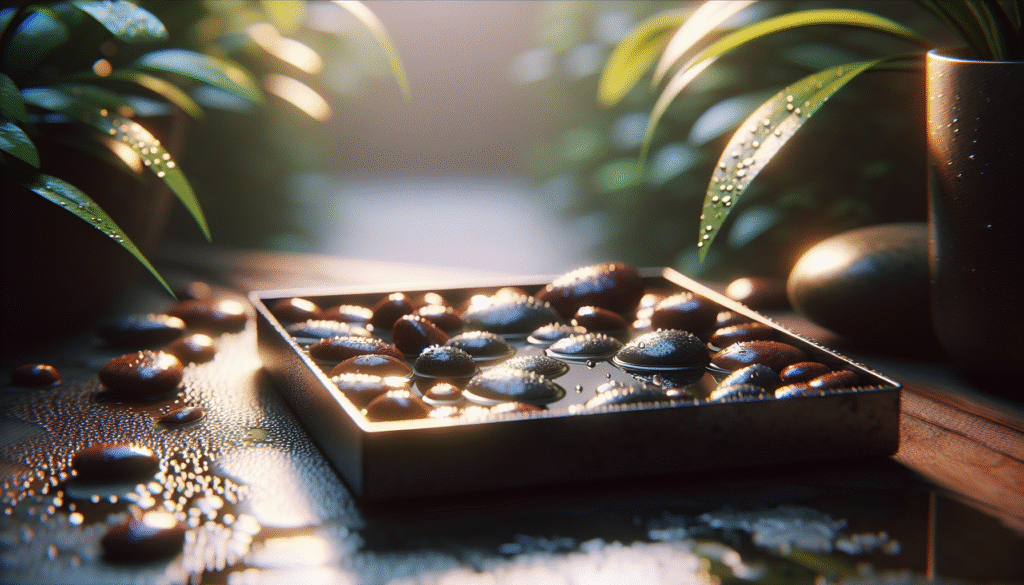
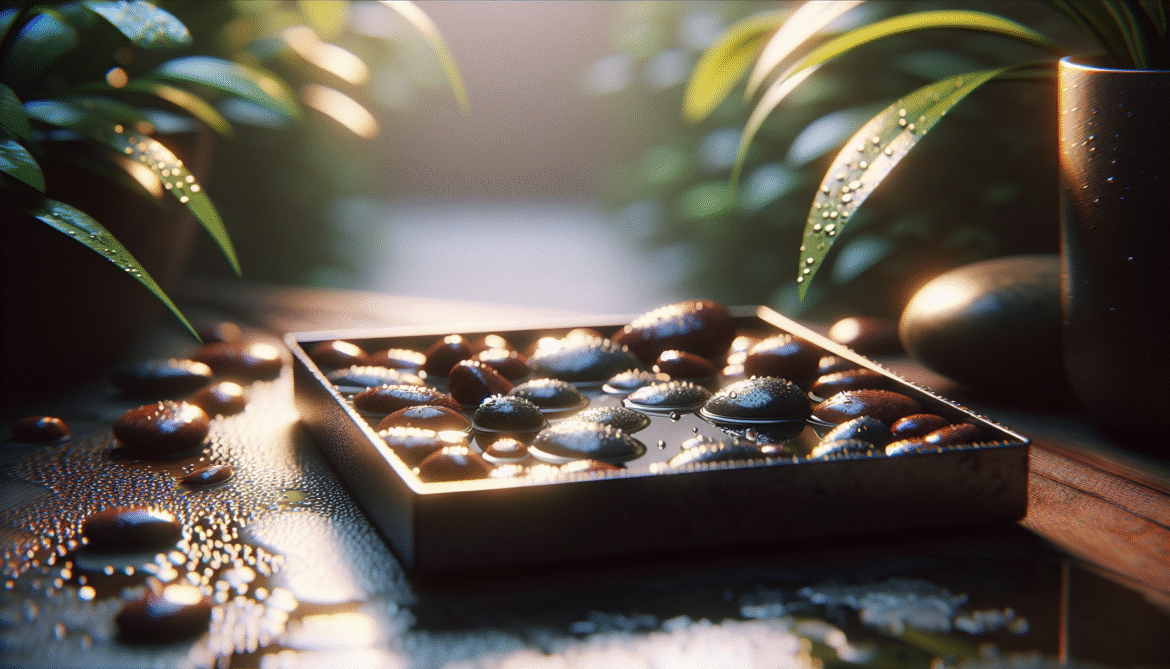
A water-filled pebble tray is a shallow container filled with pebbles and water, with plant pots sitting on top of the pebbles (or positioned above them). The water sits below the pot base so that the pot does not sit in standing water, and evaporation from the tray raises humidity directly surrounding your plants. You’ll use basic physics—evaporation—to create a small microclimate that benefits many houseplants.
Why use one for your plants?
You’ll get more consistent humidity, which helps plants accustomed to tropical conditions. It reduces leaf stress, decreases the frequency of direct leaf wetting, and can be preferable to daily misting or running an electric humidifier for just a few plants. It’s also cost effective and easy to tailor to different plant groups.
Benefits of a water-filled pebble tray
You’ll find several plant and household benefits when using a water-filled pebble tray correctly.
- Humidity improvement: It raises humidity locally without wetting leaves, which lowers risk of fungal leaf disease.
- Stress reduction for tropical plants: Many popular indoor species, like ferns, calatheas, and monsteras, thrive with slightly higher humidity.
- Water efficiency: You’ll use less water than frequent misting or some humidifiers.
- Aesthetic: It can be an attractive display element when you choose decorative pebbles and containers.
How much humidity can you expect?
Expect a modest increase in relative humidity immediately above the tray—often 5–15% higher than ambient in the immediate vicinity. The exact amount depends on room conditions, tray size, water surface area, and air movement.
Choosing the right container and pebbles
Selecting the right container and pebbles makes your tray both functional and easy to maintain.
Container size and material
Pick a tray or shallow container that fits the grouping of plants you want to serve. Ceramic, glazed terracotta, glass, metal, or plastic work, but glazed or non-porous materials help slow water loss and are easier to clean. Make sure the container is watertight and has a lip wide enough to hold pebbles.
- Small tray: Good for a single pot or small grouping.
- Medium tray: Fits several pots for a shelf or side table.
- Large tray: Ideal for multiple pots or a cluster on the floor.
Choosing pebbles
You can use aquarium gravel, river rock, glass pebbles, or decorative stones. The important factors are size, stability, and cleanliness.
- Size: Choose pebbles large enough to prevent pots from slipping into the water; roughly 1–3 cm diameter is common.
- Texture: Smooth pebbles resist algae growth less than porous stones, but all stones will benefit from occasional cleaning.
- Color and look: Dark stones hide mineral stains; glass pebbles are decorative and easy to clean.
Table: Common pebble options
| Pebble type | Pros | Cons |
|---|---|---|
| River rock | Natural look, sturdy | May be porous, can hold minerals |
| Aquarium gravel | Clean, consistent size | May be small for some pots |
| Glass pebbles | Decorative, non-porous | Can show water marks |
| Lava rock | Lightweight, airy | Very porous, can harbor debris |
Water type and additives
What you put in the tray matters for plant health and maintenance.
Tap water vs filtered water vs distilled
You can use tap water in most cases, but be aware of mineral buildup. If your tap water is hard or has high mineral content, you’ll see white deposits on pebbles and tray edges over time. Distilled or filtered water reduces mineral stains and algae growth, but it’s not essential if you maintain the tray.
- Tap water: Convenient; may cause mineral buildup.
- Filtered water: Lower minerals; better for long-term appearance.
- Distilled water: Lowest minerals; best if you want minimal buildup.
Additives: when to use them (and when not to)
Some people add aquarium-safe algaecide or a few drops of hydrogen peroxide to limit algae and microbes. Be cautious: additives can affect sensitive plants if tray water contacts potting mix or roots.
- Hydrogen peroxide (mild solution): Helps control organic buildup; use sparingly.
- Algaecides: Use only products labeled safe for plants and pets; avoid if unsure.
- Fertilizer: Do not add fertilizer to tray water; you don’t want nutrients feeding algae.
Setting up your water-filled pebble tray: step-by-step
A clear process helps ensure the tray is effective and easy to maintain.
Step 1 — Choose location
Place the tray where your plants get their normal light and where evaporation will benefit them. Avoid extremely warm vents or direct heating, which increases evaporation and the need to refill often.
Step 2 — Select the container and pebbles
Pick a tray that fits your plants and pebbles that support pots securely. Clean pebbles before using them to remove dust and residues.
Step 3 — Wash pebbles and tray
Rinse pebbles thoroughly, and wash the tray with mild dish soap and water. Rinse well to remove any soap residue that could affect plants.
Step 4 — Arrange pebbles and add water
Fill the tray with a single layer of pebbles—enough so the pots sit above the water line when placed. Add water until it nearly reaches the top of the pebbles without submerging pot bases.
Step 5 — Place pots
Set pots on the pebbles so the pot bottoms are above the water surface. Ensure drainage holes are not submerged—roots should not sit in water unless the plant pot itself requires that.
Step 6 — Monitor and adjust
Check the tray daily at first to make sure pots remain secure and water level is stable. Adjust water level as needed.

Placement and environmental considerations
Where you sit the tray changes how effective it will be.
Near groups of plants
The tray benefits plants closest to it most. Arrange plants in a cluster near or on the tray for the most consistent humidity.
Avoid direct sun and heat sources
Direct sunlight increases evaporation and can heat water, encouraging algae. Keep the tray out of harsh sun and away from radiators or heating vents.
Airflow matters
Gentle air movement helps distribute humidity, but strong drafts will dissipate it quickly. Avoid placing trays directly in front of fans or open windows with heavy drafts.
How often to refill and top up
Your refill frequency depends on room conditions, tray size, and temperature.
Typical refill schedule
- Dry winter indoor air: You may need to top up every 2–3 days.
- Moderate indoor humidity: Once a week may suffice.
- Warm, dry rooms or small trays: Daily checks might be necessary.
Keep a small pitcher near the tray so you can top it up quickly without moving pots.
Maintenance schedule
A simple schedule keeps your tray effective and hygienic. The following table gives a straightforward plan you can adapt to your home.
| Task | Frequency | Notes |
|---|---|---|
| Check water level | Daily to every 3 days | Top up to just below pot bases |
| Quick clean (remove floating debris) | Weekly | Remove leaves, dust, insects |
| Replace water & rinse pebbles | Every 2–4 weeks | More often if algae forms quickly |
| Full cleaning (empty, scrub tray and pebbles) | Every 1–3 months | Use mild soap and rinse thoroughly |
| Inspect for pests/mold | Weekly | Remove any affected plant or material |
Cleaning and deep maintenance
Regular cleaning prevents problems like algae, odors, and insect breeding.
How to perform a full clean
- Remove plants and pots from the tray.
- Empty the tray and dispose of old water.
- Scoop out pebbles and place them in a colander or large sieve.
- Wash the tray with warm water and mild soap; rinse thoroughly.
- Scrub pebbles in fresh water, using a brush if necessary. For heavy mineral deposits, use a 1:1 vinegar-water soak for 10–15 minutes, then rinse well.
- Dry the tray and pebbles if you prefer, or reassemble while still slightly damp.
- Refill with fresh water and replace pots.
Dealing with stubborn mineral buildup
If you see white crusty deposits, a vinegar soak helps dissolve minerals. Rinse thoroughly and repeat if necessary. Avoid using harsh chemical cleaners that might leave residues.
Mosquito and pest prevention
Standing water can attract mosquitoes if left unchecked, so take precautionary steps.
Preventing mosquito breeding
- Keep water level low so the water isn’t stagnant in exposed pools.
- Replace water regularly (every 2–4 weeks).
- Use a fine mesh lid if mosquitoes are a major concern.
- Consider adding tiny amounts of aquarium-safe mosquito dunks (Bacillus thuringiensis israelensis) if you have a persistent problem—confirm pet and plant safety first.
Inspect plants and tray for pests
Check pots and the substrate for fungus gnats and other pests. Remove affected material and consider using yellow sticky traps or biological controls for gnats.

Common problems and troubleshooting
You’ll encounter a few recurring issues; here’s how to resolve them.
Problem: Algae growth
Algae appear as a green film on pebbles or water. It’s common in light-exposed trays.
Solutions:
- Move the tray away from direct sunlight.
- Reduce water surface exposure by adding more pebbles or lowering light.
- Replace water and clean pebbles; consider adding a tiny amount of hydrogen peroxide (dilute) carefully if safe for your plants.
Problem: Foul odor
Stagnant organic matter or decaying plant debris causes smells.
Solutions:
- Remove debris immediately.
- Change water and scrub tray.
- Increase cleaning frequency and ensure good air exchange.
Problem: Mineral deposits or white crust
This comes from hard water.
Solutions:
- Soak pebbles in vinegar-water, then scrub and rinse.
- Use filtered or distilled water where feasible.
- Increase cleaning frequency.
Problem: Pots sitting in water
If pot soil remains wet at the base, root rot risk increases.
Solutions:
- Ensure pots are raised by pebbles above the water.
- Use pot saucers or inverted pot feet to keep drainage holes above waterline.
- If you accidentally submerge drainage holes, remove the pot and let it dry before replacing.
Plants that benefit most
Not all plants need a pebble tray, but many will appreciate the humidity.
Ideal candidates
- Tropical foliage plants: calathea, maranta, philodendron, monstera
- Ferns: Boston fern, maidenhair fern
- Orchids: Many orchids prefer humidity near their roots and foliage
- African violets and small flowering houseplants that dislike leaf wetness
Plants that don’t need it
Succulents, cacti, and desert-adapted plants may not benefit and could suffer if placed near high humidity. You can still place these plants on the same shelf, but consider separate trays to avoid over-humidifying succulents.
Seasonal adjustments
You’ll want to adjust care with changing seasons.
Winter
Indoor air is usually drier during winter due to heating. Expect faster water loss and more frequent top-ups. Clean more often because closed windows and limited airflow can encourage algae and mold.
Summer
Warmer air increases evaporation; you may need daily checks. Watch for increased algae in warmer temperatures and more active insect activity.
Alternatives and complements to pebble trays
You don’t have to rely only on pebble trays; several other methods can complement or replace them.
Table: Humidity methods comparison
| Method | Pros | Cons |
|---|---|---|
| Pebble tray | Low cost, localized humidity, no electricity | Limited range, maintenance required |
| Misting | Fast, immediate humidity boost | Temporary, can wet leaves frequently |
| Electric humidifier | Precise, large-area humidity control | Cost, noise, maintenance, over-humidification risk |
| Grouping plants | Natural microclimate, no added water | Only works with clusters, limited control |
| Terrarium/closed enclosure | Very high humidity for specific plants | Requires humidity-tolerant species, limited plant size |
You can use a pebble tray alongside other methods—for example, a humidifier in a dry room and pebble trays for plants in different locations.
Safety and household tips
Keep your home and plants safe while using pebble trays.
Child and pet safety
If you have pets or children, choose non-toxic trays and avoid chemical algaecides unless labeled safe. Keep trays stable and out of the way to prevent spills.
Preventing spills and water damage
Place trays on waterproof surfaces or a protective mat. Use trays with raised edges and avoid overfilling.
Allergies and mold sensitivity
If anyone in your household has mold allergies, clean trays more often and ensure good ventilation to reduce spore buildup.
Long-term care and monitoring
You’ll get the most benefit from a pebble tray by staying consistent with monitoring and maintenance.
Keep a simple log
Note when you refill, clean, or change water. This log helps you identify patterns—such as faster evaporation in certain months—or detect pest issues earlier.
Evaluate plant response
Look for positive signs: new growth, fewer brown leaf edges, and reduced leaf curling. If plants don’t improve or seem worse, reassess placement and watering practices.
Frequently asked questions
You’ll probably have a few common questions—here are clear answers.
Will the pebble tray keep my whole room humid?
No—pebble trays provide localized humidity around the plants. For whole-room humidity, use an electric humidifier.
Can the tray cause root rot?
Only if pots sit in standing water or drainage holes are submerged. Keep pots raised above the water and ensure good drainage.
How many plants can one tray serve?
It depends on tray size. A large tray can serve several small pots; small trays work best for 1–2 pots. The more plants you place on a tray, the larger the humidified area will be.
Is distilled water necessary?
Not necessary, but it helps reduce mineral deposits and algae over time. Tap water is usually fine for short-term use.
Final tips for success
A few practical tips will keep your pebble tray low-maintenance and effective.
- Keep water level low enough that pot bases are above the water line.
- Clean regularly to avoid algae and odor.
- Position trays away from direct sunlight and strong drafts.
- Use filtered water if you want to minimize mineral buildup.
- Group plants with similar humidity needs together.
Conclusion
You now have a clear, friendly guide to caring for a water-filled pebble tray. With a small time investment for setup and routine maintenance, you’ll create a reliable humidity boost that helps many indoor plants thrive. Keep monitoring, adjust with the seasons, and enjoy the healthier, happier appearance of your plants.
If you want, tell me what plants you have and where you’re planning to place the tray—I can recommend a setup and a maintenance schedule tailored specifically to your home.
