?Have you ever thought about turning your used coffee grounds into a secret weapon for stronger, healthier plants?
Benefits of Coffee Grounds for the Garden
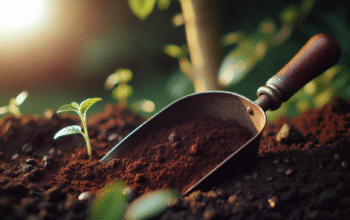
You can give your garden a useful boost by reusing spent coffee grounds. They’re inexpensive, readily available, and offer several advantages when used correctly, from improving soil structure to feeding beneficial organisms.
What are coffee grounds?
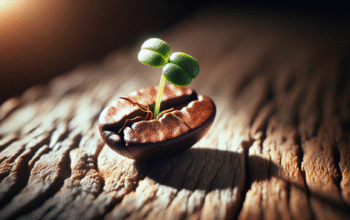
You’re dealing with the leftover solids that remain after brewing coffee. Those spent grounds still contain organic matter, small amounts of nutrients, and residual compounds from the coffee bean. How the grounds were brewed (espresso, drip, French press) slightly changes texture and moisture, but for gardening purposes they function similarly.
Fresh vs. spent grounds
You should know that fresh, unbrewed grounds are more acidic and have stronger compounds than spent grounds. Spent grounds — the kind you get from your morning pot — are milder in pH and less likely to cause harm when used in the garden. Use spent grounds more widely; use fresh grounds cautiously.
Chemical and nutritional profile
Coffee grounds contain organic matter and small amounts of macronutrients and micronutrients that benefit soil life. The exact values vary by coffee type and brewing method, but here’s a helpful approximation.
| Component | Typical value / note |
|---|---|
| pH (spent grounds) | Near neutral (approx. 6–7) — often closer to 6.5–6.8 after brewing |
| Nitrogen (N) | ~1.5–2.0% (slow-release, organic form) |
| Phosphorus (P) | Trace amounts |
| Potassium (K) | Trace to low amounts |
| Organic matter | High — improves structure and tilth |
| Caffeine & phenolic compounds | Present in small quantities — may have allelopathic effects in high concentrations |
You should treat the nutrient contribution as supplementary. Coffee grounds are not a complete fertilizer, but they’re a valuable organic amendment.
How coffee grounds help your soil
When used thoughtfully, coffee grounds can improve many aspects of garden soil. You’ll get both short-term physical benefits and longer-term biological gains.
Add organic matter and improve structure
You’ll increase the organic content in soil, which improves texture and structure. Over time, grounds break down and help convert compacted clay into crumbly, friable soil and improve moisture infiltration in sandy soils.
Provide slow-release nitrogen and nutrients
You’ll supply a modest amount of nitrogen that becomes available as microbes break down the organic material. This is especially helpful for leafy growth when added as part of a balanced feeding program.
Improve water retention and drainage
You’ll notice increased water-holding capacity in sandy soils when grounds are incorporated, while in heavy soils they can help with aggregation, which improves drainage and reduces surface crusting.
Encourage beneficial organisms
You’ll attract earthworms and soil microbes. Earthworms are particularly fond of coffee grounds and will help incorporate them into deeper soil layers, improving nutrient cycling and aeration.
Support composting process
You’ll add a “green” (nitrogen-rich) component to your compost pile. Grounds help maintain the right balance of carbon and nitrogen, speeding decomposition when combined with carbon-rich “browns” like dry leaves or straw.
Potential pest effects
You might read claims that coffee grounds repel slugs, snails, or cats. Evidence is mixed: coffee grounds can irritate some pests, but they can also attract others to the moisture they hold. Use grounds for pest control cautiously and observe how local pests respond.

Using coffee grounds safely and effectively
You’ll get the most benefit when you follow a few simple practices. Avoid overuse, mix grounds with other materials, and monitor plant responses.
Collecting and storing
Collect used grounds in a dedicated container. Spread them out to dry if you won’t compost immediately — wet piles can sour and develop mold. You can store dry grounds in a sealed container or bag for several weeks; refrigerate or freeze if you need long-term storage.
Tips:
- Use paper bags or breathable containers to dry grounds faster.
- Label containers with date to ensure you use older piles first.
How to apply — summary table
This table helps you choose a method based on your goals and garden set-up.
| Method | How you apply | When to use | Pros | Cons |
|---|---|---|---|---|
| Composting | Mix with browns (2–3 parts brown : 1 part grounds) | Ongoing | Reduces allelopathy, creates balanced compost | Requires time |
| Mulching (thin layer) | Spread thinly (≤0.5 cm) and cover with other mulch | Around established plants | Adds organic matter, slowly feeds soil | Thick layers can repel water |
| Top-dressing | Sprinkle thin layer around plants | Growing season | Easy, gradual nutrient release | Can crust if applied thickly |
| Soil incorporation | Work into top 5–10 cm of soil | Before planting | Improves soil structure | Fresh grounds may temporarily affect seedlings |
| Worm bins | Add moderate amounts to worm bin | Ongoing | Attracts worms, feeds bin | Too much can heat bin or increase acidity (monitor) |
| Coffee “tea” | Steep grounds in water, use as liquid feed | Fast-acting nutrient boost | Gentle, quick application | Weak tea only; over-application can harm plants |
| Potting mix addition | Mix small amounts (≤10%) into potting soil | When repotting | Enhances organic matter | May affect drainage if excessive |
Composting coffee grounds
You should treat grounds as a “green” material. Aim for a carbon-to-nitrogen balance that keeps decomposition brisk. If you add large amounts of grounds, mix in dry leaves, shredded paper, or straw.
Practical steps:
- Layer 2–3 parts dried browns to 1 part grounds.
- Turn the pile periodically for aeration.
- Monitor moisture — it should be similar to a wrung-out sponge.
- Compost is ready when it’s dark, crumbly, and earthy-smelling (usually weeks to months).
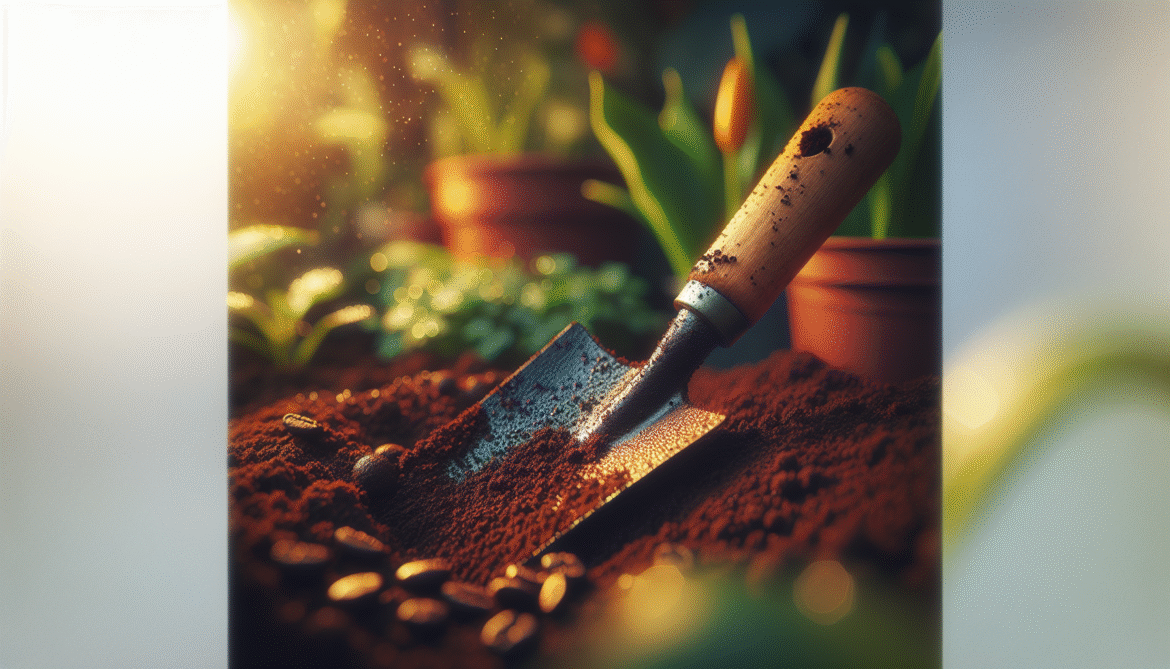
Mulching and top-dressing
You can sprinkle a thin layer of grounds around shrubs and perennials and then cover with bark or straw to prevent crusting. For lawns, apply a light scattering and water in — heavy applications can cause matting and smother grass.
Guidelines:
- Keep layer thin: ≤0.5 cm (a light dusting).
- Mix with other mulch if you want a thicker layer.
- Avoid placing grounds directly against stems to reduce moisture-related rot.
Making and using coffee “tea”
You can make a simple tea by steeping used grounds in water for 24–48 hours, straining, and diluting if necessary.
Recipe:
- Fill a bucket with 1 part spent grounds to 10 parts water.
- Stir and let soak 24–48 hours.
- Strain and apply to soil around plants.
- Use sparingly — coffee tea is a low-strength fertiliser, not a replacement for balanced feeds.
Using in potting mixes and seed starting
Only add small amounts of grounds to potting mixes (≤10% by volume). Avoid high concentrations when starting seeds, because caffeine and other compounds can inhibit germination in some species.
Worms and compost bins
If you use grounds in a worm bin, add them with other soft organics and maintain aeration. Worms often like grounds but too many can cause heat or an imbalance. Alternate adding grounds with carbon-rich materials.
Best plants to use coffee grounds with
You can match coffee ground use to plant preferences. Some plants tolerate or prefer slightly acidic conditions, others do not.
| Plants that often benefit | Why | Plants to avoid or use sparingly |
|---|---|---|
| Azaleas, rhododendrons, camellias | Prefer acidic conditions; benefit from added organic matter | Cacti & succulents — prefer very low organic, well-draining soil |
| Blueberries | Thrive in acid soils; cautious use can help | Many Mediterranean herbs (rosemary, lavender) — dislike moisture-retaining organic mulches |
| Hydrangeas | Can show color changes with acidic inputs (bluer in acidic soil) | Seedlings and newly germinated seeds — sensitive to allelopathy |
| Roses | Benefit from organic matter and slow nitrogen | Plants in pots with poor drainage — avoid over-application |
| Vegetable beds (grown-in) | As part of balanced compost, good for leafy veg | Direct fresh-ground contact with seedlings |
You should monitor your plants. Local conditions, soil type, and plant variety all influence outcomes. If a plant shows slowed growth after adding grounds, reduce application and consider composting before reuse.
Quantities, rates, and timing
You’ll get the best results by using moderate, measured amounts rather than dumping big piles of grounds.
- Compost: Up to 1 part grounds to 2–3 parts browns is typical.
- Mulch/top-dressing: Light scatter ≤0.5 cm. Thicker layers should be mixed with coarser mulch.
- Potting mix: ≤10% by volume.
- Worm bin: Small additions at a time; avoid more than about 10–20% of bin volume as fresh grounds.
- Tea: Dilute 1:10 (grounds:water), use sparingly.
Timing:
- Add grounds to compost year-round.
- Apply top-dressings during the growing season for slow feeding.
- Avoid heavy fresh-ground applications right before direct seeding.

What the RHS says
The Royal Horticultural Society (RHS) notes that spent coffee grounds are near neutral in pH and can be added to the garden and compost. They recommend using grounds as part of a balanced compost mix or spread thinly as a mulch or top-dressing. RHS cautions against piling large volumes directly onto the soil surface without mixing, and they emphasize that grounds are not a complete fertilizer — they should complement, not replace, regular feeding and soil management.
Potential problems and how to avoid them
You’ll get the best outcomes by being aware of pitfalls and preventing them.
Allelopathy and seed germination issues
Compounds like caffeine and certain phenolics can inhibit germination if grounds are used in high concentrations. Avoid using fresh or concentrated grounds directly in seed trays or where you’re sowing small seeds. Composting usually removes or reduces inhibitory effects.
Mold and odors
If stored wet, grounds can develop mold or sour odors. Dry grounds promptly if not composting and use breathable containers if storing short-term.
Compaction and water repellence
Thick layers of dry grounds can form a crust that repels water and restricts air flow. Keep layers thin and mix with other organic materials.
Nutrient lock and C:N imbalance
If you add very large amounts of grounds directly to soil, microbial breakdown can temporarily tie up nitrogen, making less available to plants. Composting and mixing with carbon-rich materials prevents this.
Attracting pests
Grounds can attract animals that like the smell or the moist environment, such as raccoons or certain insects, depending on your region. Observe results and adjust if needed.
Recipes and step-by-step uses
You’ll find practical, easy-to-follow recipes below to make the most of your coffee grounds.
Basic compost mix with coffee grounds
- Start with a 3:1 ratio of carbon-rich browns (dry leaves, shredded paper) to coffee grounds.
- Add a layer of green materials like vegetable scraps occasionally.
- Water as needed to keep moisture like a wrung-out sponge.
- Turn the pile every 1–2 weeks until it’s dark and crumbly.
Quick worm bin boost
- Add a cup of damp coffee grounds to the worm bin, then cover with cardboard or other bedding.
- Repeat every 1–2 weeks as part of a balanced feeding plan.
- Monitor worm health and bin temperature.
Coffee ground mulch for shrubs
- Apply a thin dusting of grounds around the base of the plant (≤0.5 cm).
- Immediately cover with 2–3 cm of wood chips or straw to prevent crusting.
- Replace every few months as organic matter breaks down.
Simple coffee tea for plants
- Place 1–2 cups of spent grounds in a 10-liter bucket of water.
- Let steep for 24–48 hours.
- Strain and apply to soil around plants — don’t pour directly on leaves.
- Use once every 2–4 weeks as a mild supplement.
Troubleshooting table
This table helps you identify problems and how to fix them.
| Problem | Likely cause | What you should do |
|---|---|---|
| Plants show slow growth after fresh-ground addition | Microbial nitrogen immobilisation or allelopathic effects | Reduce fresh-ground use; add composted material; feed with balanced fertilizer |
| Grounds pile smells or molds | Stored wet without airflow | Dry grounds, aerate, or add to compost with browns |
| Water pools on mulched area | Thick layer of grounds created crust | Break up layer, mix with coarse mulch, keep thin going forward |
| Worms disappear from bin | Overuse of grounds or bin imbalance | Reduce grounds, add more bedding, check moisture/temperature |
| Slugs or pests increase | Grounds retained moisture or attract pests | Remove and replace with coarser mulch; monitor pest behavior |
Environmental and community benefits
You’ll reduce household waste and support a circular economy by reusing a common byproduct. Coffee grounds diverted from landfill lower methane production from organic waste decomposition and return carbon to garden soils. If you collect from local cafes, you can create community compost hubs and reduce disposal costs for businesses.
FAQs — quick answers you’ll find useful
Q: Can you put coffee grounds directly on the lawn? A: Lightly — a thin scatter is okay. Avoid thick layers that can mat and smother grass.
Q: Will coffee grounds make my soil acidic? A: Spent grounds are near neutral in pH. They won’t dramatically acidify soil unless you use huge volumes over time. Composting further neutralizes any acidity.
Q: Do coffee grounds kill weeds? A: Not reliably. Grounds don’t act as an herbicide and may even help weed seeds germinate if mixed with soil. Use other weed control methods.
Q: How often should I add grounds to my garden? A: Moderately and regularly as part of composting or top-dressing — not a single large application. Once every few weeks as part of general composting is a practical approach.
Q: Are coffee grounds safe for vegetable gardens? A: Yes, when composted or used sparingly in the soil. Leaves and roots of vegetables benefit from the added organic matter and slow-release nitrogen.
Research notes and evidence
You’ll find mixed results in scientific studies about pest deterrent effects and allelopathy. Many studies show benefits to soil biology and structure, while others indicate inhibitory effects on certain seeds at high concentrations. Because results are context-dependent, local trials on a small scale are useful before broad application.
Practical checklist before using coffee grounds
- Dry or compost grounds if you won’t apply them immediately.
- Mix with carbon-rich materials for composting.
- Keep mulch layers thin to prevent crusting.
- Avoid adding grounds directly to seed trays or newly-sown beds.
- Observe plant reactions and adjust application rates.
- Consider local climate and pests when deciding on use as mulch or deterrent.
Final tips and summary
You have an eco-friendly, low-cost resource in your used coffee grounds. Use them as part of a balanced gardening routine: compost them, sprinkle thinly, or mix into potting mixes in small amounts. You’ll improve soil organic matter, encourage beneficial organisms, and reduce household waste. Always use moderation, compost when possible, and observe how your garden responds so you can tailor applications to local conditions.
If you want, you can start with a small test bed: add composted grounds to one plot, keep another as control, and note differences in plant vigor, soil texture, and earthworm activity over a growing season. You’ll quickly learn how coffee grounds fit into your garden routine and which plants benefit most from this everyday resource.