? Are you ready to help your coffee plant reach its healthiest, most productive form?

How to Prune Coffee Plant for Healthier Growth
Pruning coffee plants is one of the most effective ways to improve plant health, increase yield, and maintain a manageable size whether you grow coffee in a backyard or a pot. In this guide, you’ll find step-by-step instructions, timing advice, tool recommendations, and troubleshooting tips so you can prune confidently and get better results.
Why prune your coffee plant?
Pruning removes dead, diseased, or overcrowded branches so light and air can reach the inner canopy. You’ll reduce disease pressure, encourage new growth, and direct the plant’s energy into flowers and berries rather than unnecessary wood.
Pruning also helps shape the plant for easier management and harvesting. With the right cuts, you’ll increase fruiting sites and keep your plant at a size that fits your space and maintenance routine.
Benefits of regular pruning
Regular pruning increases sunlight penetration and airflow, which lowers the risk of fungal diseases and pest hotspots. It also encourages vigorous new shoots that produce the best-quality cherries.
Pruned plants tend to bear more evenly and are easier to inspect and harvest. You’ll find pruning reduces the need for intensive pest control because you can spot problems earlier.
When to prune your coffee plant
Timing your pruning is essential to avoid stressing the plant and to encourage productive regrowth. The best time to prune is generally right after the main harvest or during the dry season when flowering is minimal.
For most coffee-growing climates, prune after harvest to allow the plant to recover before the next flowering cycle. If you grow coffee in a pot indoors, prune in early spring or after a heavy fruiting period so the plant has the warm season to regrow.
Seasonal considerations
If your region has a distinct dry season, prune at the beginning or during it to minimize disease spread from wet conditions. Avoid heavy pruning right before flowering or during the main fruit set, because that can reduce yield.
When you live in a temperate zone with indoor growing, follow the plant’s growth rhythm: prune lightly during winter rest and more aggressively in spring.
Tools you need
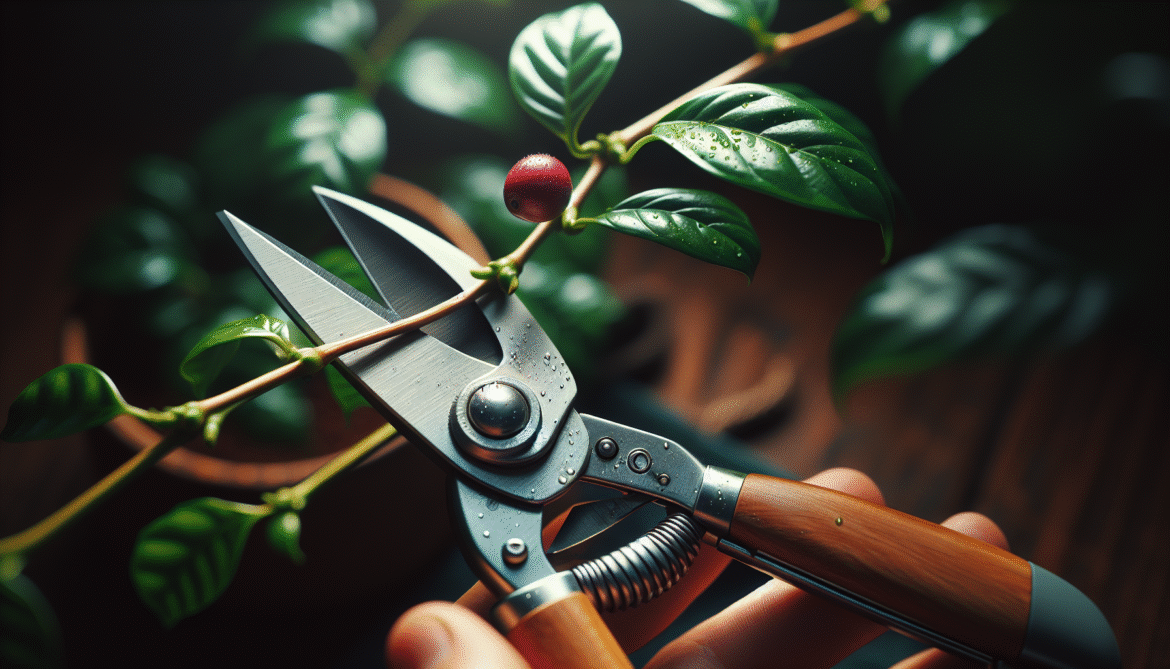
Having the right tools makes pruning safer and cleaner, reducing the chance of infection and making precise cuts easy. Use sharp, well-maintained tools to avoid crushing stems.
Below is a table summarizing the essential tools, their uses, and recommended features.
| Tool | Use | Recommended features |
|---|---|---|
| Pruning shears (secateurs) | Cutting small branches and stems up to 1/2 inch (1.5 cm) | Bypass blades, sharp, ergonomic handle |
| Lopping shears | Cutting medium branches up to 1-2 inches (2.5-5 cm) | Strong blades, long handles for leverage |
| Pruning saw | Removing larger branches | Non-slip grip, compact blade for curved cuts |
| Gloves | Protect hands from rough bark, pests | Durable, flexible, sometimes needle-resistant |
| Disinfectant (70% isopropyl alcohol or diluted bleach) | Sterilize tools between cuts | Quick-drying alcohol or 1:9 bleach:water for heavy contamination |
| Measuring tape or marker | Plan cuts, measure crop height or stem spacing | Flexible tape, waterproof marker for labels |
Tool care and sharpening
Keep blades sharp and clean to make smooth cuts that heal quickly. Dull tools crush stems and increase infection risk, so sharpen blades periodically with a fine file or sharpening stone.
Disinfect tools between cuts if you suspect disease in the plant. Wipe blades with alcohol and reapply after each problematic branch to prevent pathogen transfer.
Safety and sanitation
Always prioritize safety for yourself and health for your plant. Use gloves and eye protection if you’re making larger cuts, and be mindful of falling branches.
Sterilize tools before and after pruning to prevent spreading fungal or bacterial diseases. If you prune an obviously infected branch, disinfect tools immediately and dispose of the cut material away from healthy plants.
How to disinfect properly
Wipe blades with 70% isopropyl alcohol for a few seconds or dip in a bleach solution (1 part bleach to 9 parts water) for a minute, then rinse and dry. Never trim multiple plants with the same unclean tool when disease is present.
Basic pruning techniques overview
There are several fundamental pruning techniques you’ll use depending on the plant’s age, health, and purpose. Understanding these techniques will help you choose the right approach for each situation.
The most common techniques include topping, thinning, skirting, coppicing, and structural pruning. Each targets different growth and production goals.
Topping
Topping means cutting the main stem or leader to control height. You’ll use it to keep coffee plants accessible and to stimulate lateral branching, which can increase fruiting sites.
This is particularly useful on young plants to promote a more bushy structure rather than a single tall trunk.
Thinning
Thinning removes entire branches at the base to open up the canopy. You’ll thin to improve light penetration and airflow, lowering disease risk and enhancing berry quality.
Avoid over-thinning, which can remove too much leaf area and reduce the plant’s photosynthetic capacity.
Skirting
Skirting removes lower branches close to the ground to improve access for harvesting and to reduce soil splash onto leaves (which can spread pathogens). You’ll usually skirt 30–60 cm (12–24 inches) from the base.
This technique also helps avoid competition between root suckers and the main canopy.
Coppicing and rejuvenation pruning
Coppicing is a more aggressive cut, often resetting a plant to a few buds above the ground. You’ll coppice to rejuvenate an old, unproductive tree and encourage strong new growth from the base.
Use coppicing carefully: it triggers stress but can revive productivity in older coffee plants when done at the right time.
How to prune a young coffee plant
Young plants need formative pruning to build a strong structure and encourage a productive framework. Your goal is to create a balanced, accessible plant rather than preserve height.
Start formative pruning within the first year or two. Encourage multiple lateral branches and remove competing leaders to form a 3–4 main-branch scaffold.
Step-by-step for seedlings and juveniles
- Assess the natural leader: If one stem dominates, prune it to a height you want the plant to reach; this encourages side branching.
- Remove weak shoots: Cut off thin, spindly shoots and any growth below your desired skirt height.
- Select scaffold branches: Leave 3–4 well-spaced lateral branches around the main stem and remove others to prevent crowding.
- Pinch tips for branching: Pinch or cut back tips of chosen laterals to stimulate more branching; keep these cuts just above a healthy bud.
- Monitor and repeat annually: Each year, remove any crossing branches and maintain scaffold structure.
Example pruning for a young potted plant
If your coffee plant is in a pot, keep it compact by topping at 30–45 cm (12–18 inches) and pinch back new growth to maintain bushiness. Remove any shoots that rub together and thin the center if it becomes crowded.
How to prune a mature coffee tree
Mature coffee trees require maintenance pruning to sustain yield and health. You’ll be balancing removal of old wood with encouragement of new, productive shoots.
Mature pruning focuses on thinning the canopy, removing dead or diseased wood, and renewing fruiting branches.
Step-by-step for mature plants
- Remove dead, dying, or diseased wood: Cut until you reach healthy wood and dispose of infected material.
- Thin crowded branches: Remove branches that cross or rub, and take out interior branches that block light.
- Shorten long branches: Reduce overly long branches by cutting back to a lateral shoot or node, keeping the plant balanced.
- Reduce height if needed: If the tree is too tall, make reduction cuts on multiple leaders rather than a single large cut to distribute growth.
- Renew older branches: Cut back a few old branches to the basal area to encourage new basal shoots (renewal pruning), done on a rotation so the tree is never without productive wood.
Protecting fruit during pruning
When pruning during or near fruiting times, be conservative to avoid removing too many flowering sites. Prefer light thinning and dead-wood removal, saving heavier cuts for post-harvest work.
How to prune for higher yield
If yield is your primary goal, target pruning to maximize productive lateral shoots and maintain a high ratio of young wood to old wood. Young wood produces the best-quality cherries.
Use renewal pruning regularly: remove a fraction of old, low-yield branches each year and replace them with vigorous new shoots. Aim for a balanced age structure in the canopy.
Strategies for yield-focused pruning
- Maintain multiple productive tiers within the canopy to increase surface area for flowers.
- Shorten long fruit-bearing branches to encourage more lateral fruiting sites.
- Remove non-productive water sprouts and overly shaded branches that won’t fruit well.
- Apply light fertilizer after pruning to supply nutrients for new shoot growth.

Pruning for indoor potted coffee plants
Indoor coffee plants have limited root space and different requirements compared to field-grown trees. Your pruning will focus on size control, airflow, and ornamental shape.
Keep potted plants smaller and prune more frequently but less aggressively. Pinching back tips and light thinning every few months is effective.
Steps for potted plants
- Trim top growth to maintain desired height and encourage a bushy form.
- Remove yellow or damaged leaves and thin the center to improve airflow.
- Repot and root-prune when roots are pot-bound, combining with light above-ground pruning to balance root-shoot ratio.
- Avoid heavy pruning right before winter or cooler indoor months when recovery is slower.
Managing suckers and water sprouts
Suckers (basal shoots) and water sprouts (vigorous vertical shoots) compete with the main canopy for resources and can divert energy from berry production. You’ll control them for balance.
Remove unwanted suckers at the base and cut water sprouts back to their origin or to a lateral. Leave a few well-placed suckers if you’re planning to coppice or rejuvenate the plant.
How to remove and use suckers
Pull small suckers by hand or cut with shears at the base to prevent regrowth. If you want replacement stems, retain only the strongest, well-placed suckers and remove the rest.
Suckers can also be rooted as cuttings for new plants if treated properly.
Root pruning and repotting
Root pruning is necessary for potted plants or when rejuvenating a plant. It helps manage root-bound plants and stimulates new roots and shoots if done carefully.
When repotting, prune up to one-third of the roots if pot-bound and refresh the potting mix. Balance root pruning with above-ground pruning to reduce transplant shock.
Steps for root pruning
- Remove the plant from the pot and gently tease out the root ball.
- Trim circling roots and cut back thick roots by up to one-third.
- Replace with fresh, well-draining mix and water thoroughly to settle soil.
- Reduce top growth lightly to match the smaller root system until new roots establish.
Aftercare: water, fertilize, mulch, pest watch
After pruning, the plant will need attentive aftercare to support recovery and growth. You’ll focus on watering, feeding, and monitoring for pests and disease.
Water consistently to help new shoots develop, but avoid oversaturation. Apply a balanced fertilizer or a formulation for fruiting shrubs to replenish nutrients following substantial cuts.
Fertilizer and mulching tips
Use a nitrogen-rich feed initially to stimulate vegetative growth, then switch to a balanced NPK or potassium-enhanced fertilizer to support flowering and berry development. Mulch around the base to conserve moisture and reduce weeds, keeping mulch a few inches from the trunk to prevent rot.
Propagation from prunings
Many coffee varieties root well from cuttings, so you can propagate new plants from healthy prunings. Use semi-hardwood cuttings with a few leaves and apply rooting hormone for best results.
Root cuttings in a moist, sterile medium under high humidity; cover with a clear plastic dome or place in a propagation tray to maintain humidity until roots form.
Steps to root coffee cuttings
- Select a healthy lateral shoot and cut 10–15 cm (4–6 inches) segments with 2–3 nodes.
- Remove lower leaves and dip the cut end in rooting hormone.
- Insert the cutting into a well-draining mix (perlite:peat or sand:peat).
- Maintain high humidity and indirect light; roots appear in 4–8 weeks.
- Transplant to a small pot when roots are well established.
Troubleshooting common problems
Pruning can sometimes lead to unexpected issues if the plant is stressed or cuts are improperly made. Below is a table of common problems, probable causes, and practical remedies to help you respond correctly.
| Problem | Possible cause | Remedy |
|---|---|---|
| Excessive dieback after pruning | Cuts made during stress, wrong season, or heavy pruning | Reduce pruning intensity, provide water and shade, apply balanced fertilizer |
| Fungal infections on fresh cuts | Tools not disinfected or pruning in wet conditions | Disinfect tools, prune in dry weather, remove infected tissue and treat with fungicide if needed |
| Slow regrowth | Poor soil, insufficient water or nutrients | Improve soil drainage, fertilize appropriately, maintain consistent moisture |
| New shoots weak or sparse | Root-bound pots or inadequate light | Repot with fresh mix and larger pot, increase bright indirect light |
| Shoot chlorosis or yellowing after pruning | Nutrient deficiency or overwatering | Test soil/potting mix, adjust watering, apply balanced fertilizer |
When to seek expert help
If you see widespread dieback, persistent fungal issues, or unexplained decline after pruning, consult a local extension service or experienced grower. They can diagnose region-specific pests, diseases, or nutritional deficiencies.
Pruning schedule and calendar
A clearly defined pruning schedule helps you plan maintenance without harming the plant. Below is a typical schedule you can adapt based on your climate and whether you’re growing in ground or in a pot.
| Task | Frequency | Best timing |
|---|---|---|
| Light maintenance pruning (dead leaves, small crossing branches) | Quarterly | Throughout the growing season |
| Formative pruning for young plants | First 1–2 years, annually | After initial harvest or in early growing season |
| Major pruning/renewal pruning | Every 2–4 years | Immediately after main harvest or in dry season |
| Skirting (remove low branches) | Annually | Pre-harvest or post-harvest depending on harvest method |
| Coppicing (rejuvenation) | As needed for old/unproductive trees | Post-harvest, in dry season for recovery |
| Root pruning and repotting (potted plants) | Every 1–2 years | Early spring or before active growth period |
Adapting the schedule to your environment
If you live in a tropical area with two harvests, time light pruning between cycles and major cuts after the larger harvest. For indoor growers, align heavier pruning with the brighter months so the plant has time to regrow.
Frequently asked questions (FAQ)
Answering common questions will help you avoid mistakes and refine your pruning practice. Here are some FAQs with concise answers.
Will pruning reduce my coffee yield?
Short-term yield may drop if you prune during flowering or fruit set, but properly timed pruning increases long-term yield by stimulating productive new shoots. Plan heavy pruning right after harvest to minimize yield loss.
How much can I prune at once?
Avoid removing more than 25–40% of total canopy in a single season unless you’re doing staged renewal over multiple years. For severe rejuvenation, use coppicing on a rotation to prevent shock.
Can I prune coffee indoors the same way as outdoor plants?
Yes, but be gentler. Indoor plants have slower growth and less light, so prune more frequently but less drastically. Provide good light and humidity to support regrowth.
How do I know if a branch is dead?
Dead branches have brittle wood, no green beneath the bark, and no bud activity. Scratch the bark lightly—if you don’t see green tissue, it’s likely dead and can be removed.
Should I prune when the plant flowers?
Avoid heavy pruning during flowering or when cherries are developing. Light maintenance is okay, but major cuts should wait until after harvest.
Is pruning necessary every year?
You don’t need heavy pruning every year, but annual light maintenance keeps the canopy healthy and productive. Major structural or renewal pruning can be on a multi-year rotation.
Can pruning prevent pests and diseases?
Pruning reduces pest and disease pressure by improving airflow and removing infected tissue. It’s one element in an integrated management plan that includes sanitation, monitoring, and appropriate control measures.
What fertilizer should I use after pruning?
Start with a balanced fertilizer or one slightly higher in nitrogen to encourage vegetative recovery, then switch to formulas supporting flowering (higher potassium) as the plant approaches bloom.
Common mistakes to avoid
Certain errors can cause stress or poor recovery after pruning. Avoid these pitfalls to keep your plant productive and healthy.
- Pruning when the plant is stressed by drought—water first and wait for recovery before heavy cuts.
- Using dull or dirty tools—this increases the chance of infection and ragged wounds.
- Removing too much canopy at once—stage renewal cuts if a large reduction is needed.
- Cutting too close to the trunk or leaving long stubs—make clean cuts just above a bud or branch collar.
Best practices summary
Make clean cuts with sharp tools, prune during the right season, use proper sanitation, and match the pruning intensity to the plant’s health and age. Monitor the plant for regrowth and adjust your approach in subsequent seasons.
Final tips and reminders
Pruning is a skill that improves with practice and observation. Start conservatively, keep notes on what you cut and when, and watch how your plant responds. You’ll refine timing and technique based on your climate and plant variety.
Remember to balance form and function: shape the plant for harvest access and airflow while maintaining enough leaf area for energy production. With thoughtful pruning and attentive aftercare, your coffee plant will reward you with healthier growth and better yields.
If you have a specific situation—potted plant, field tree, a disease issue, or a desire to propagate—feel free to ask for tailored guidance and a stepwise plan for your exact needs.